1. 打开一幅MM人像画面

2. 按“Ctrl+J”复制当前层,如图02所示图层窗口中的“图层1”。
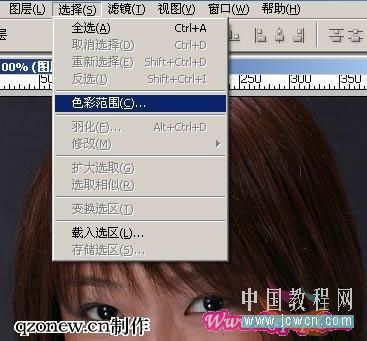
3. 确认“图层1”为当前操作层(蓝色),选择“选择”菜单中的“色彩选择”命令,如图03所示
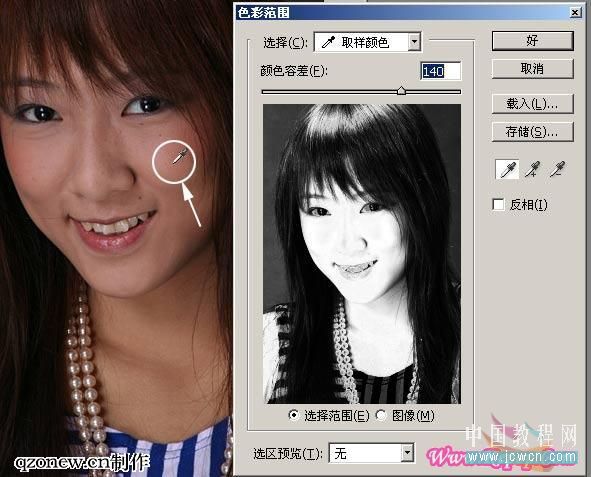
4. 打开“色彩选择”对话框后,将鼠标(吸管)移到MM的脸颊上(肤色的中间明度)点击一下,然后调节“颜色容差”,使得取样图中的肤色基本上变成白色(本例约为140左右),如图04所示。
手机版,更便捷!
时间:2017-01-13 浏览次数: 编辑:9upk
1. 打开一幅MM人像画面
2. 按“Ctrl+J”复制当前层,如图02所示图层窗口中的“图层1”。
3. 确认“图层1”为当前操作层(蓝色),选择“选择”菜单中的“色彩选择”命令,如图03所示
4. 打开“色彩选择”对话框后,将鼠标(吸管)移到MM的脸颊上(肤色的中间明度)点击一下,然后调节“颜色容差”,使得取样图中的肤色基本上变成白色(本例约为140左右),如图04所示。
标签:
上一篇:怎么用Photoshop将室内人物图片调出颓下一篇:怎么用Photoshop把手机照片转为淡紫色