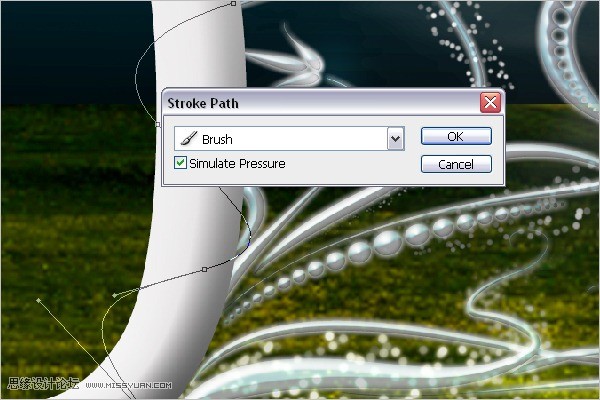
42、设置完成以后,点击钢笔工具,在屏幕上右击,选择画笔描边,打开模拟压力。


43、按42步的方法,对其他地方进行绘制。

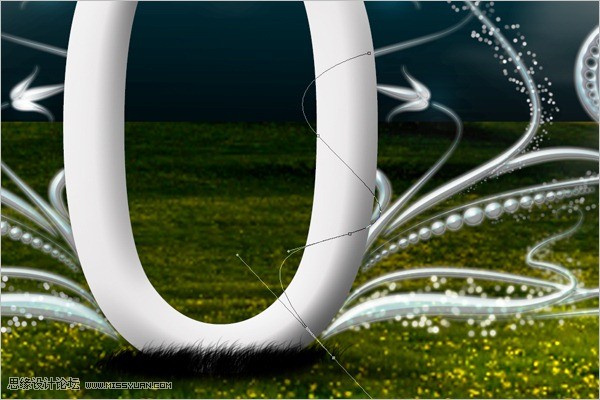
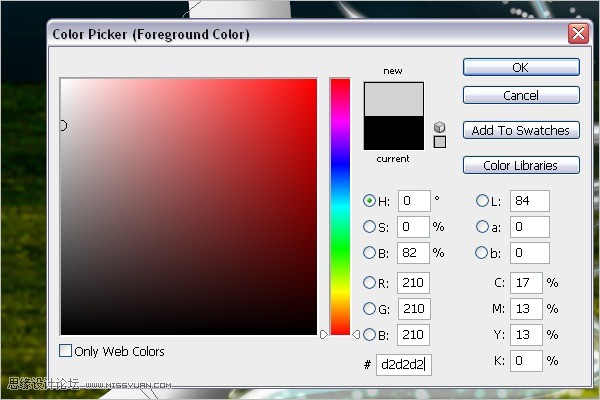
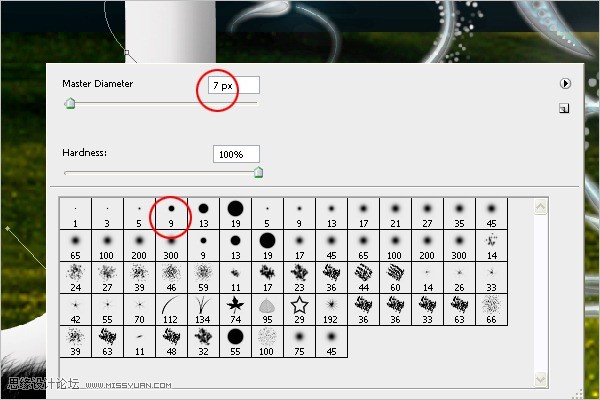
44、选择钢笔工具在文字0的上面绘制如图曲线。设置前景色为灰色(d2d2d2),打开画笔工具,选择9像素笔尖,设置大小为7或8像素,硬度为100%,在路径上进行描边,注意选上模拟压力。
手机版,更便捷!
时间:2017-01-05 浏览次数: 编辑:9upk
42、设置完成以后,点击钢笔工具,在屏幕上右击,选择画笔描边,打开模拟压力。
43、按42步的方法,对其他地方进行绘制。
44、选择钢笔工具在文字0的上面绘制如图曲线。设置前景色为灰色(d2d2d2),打开画笔工具,选择9像素笔尖,设置大小为7或8像素,硬度为100%,在路径上进行描边,注意选上模拟压力。
标签: Photoshop
上一篇:Photoshop教程 如何用Photoshop调出室下一篇:怎么用Photoshop制作简单的放射光晕图