15、绘制完成以后,将此图层叠加模式更改为叠加。

16、将其它花朵上也进行相同绘制。

到此时效果如图:

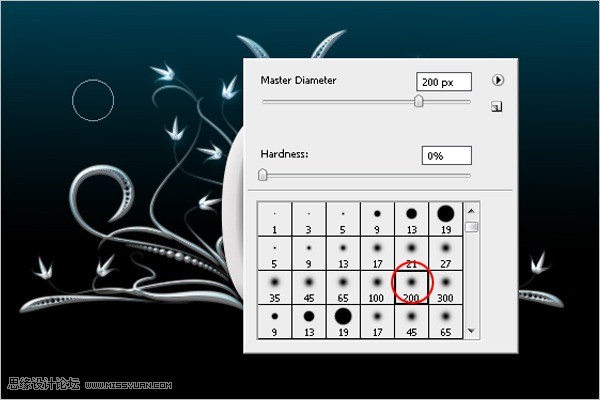
17、创建一个新层,放置在所有图层最上面。选择200像素大小柔角画笔。
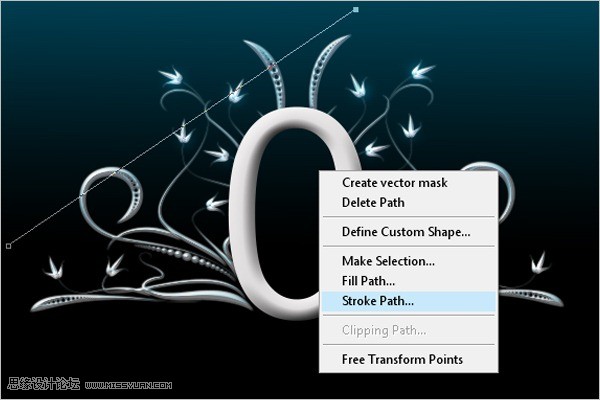
18、使用钢笔工具绘制一条直线路径。

19、在屏幕上右击,选择描边路径。
手机版,更便捷!
时间:2017-01-05 浏览次数: 编辑:9upk
15、绘制完成以后,将此图层叠加模式更改为叠加。
16、将其它花朵上也进行相同绘制。
到此时效果如图:
17、创建一个新层,放置在所有图层最上面。选择200像素大小柔角画笔。
18、使用钢笔工具绘制一条直线路径。
19、在屏幕上右击,选择描边路径。
标签: Photoshop
上一篇:Photoshop教程 如何用Photoshop调出室下一篇:怎么用Photoshop制作简单的放射光晕图