本教程介绍背景色较为单一的婚片抠图方法。大致方法:在抠图的时候单独把透明的婚纱和人物部分分开抠出,放置在不同的图层。换上背景以后适当降低婚纱层的不透明度及混合模式即可。
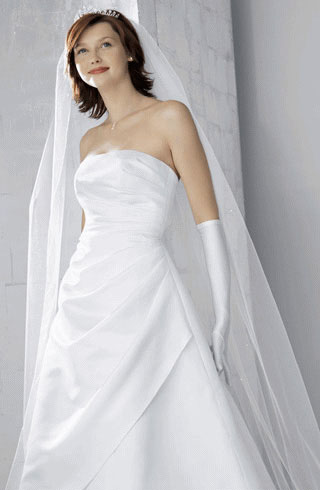
原图
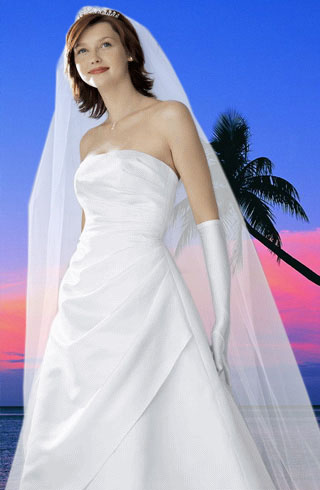
最终效果
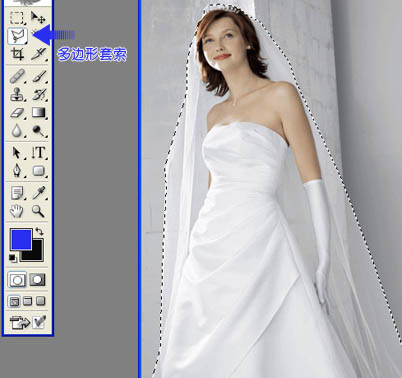
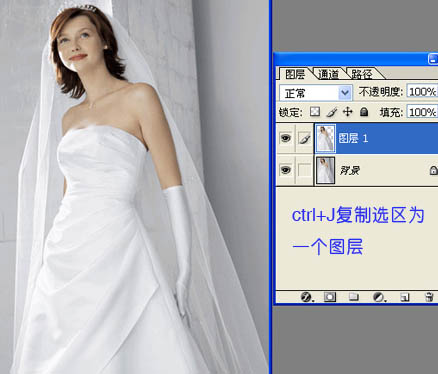
1、打开原图素材,用钢笔或套索工具随意在婚纱范围圈选。
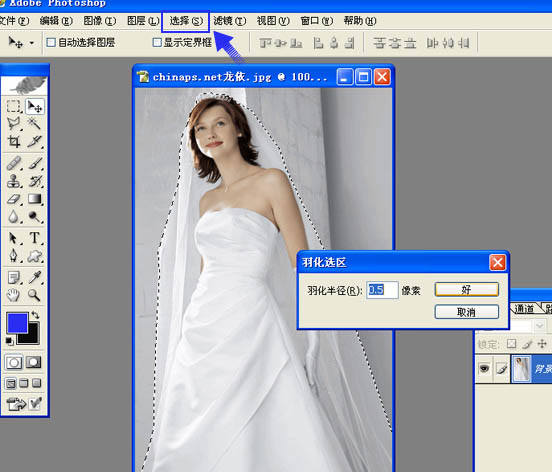
2、按Ctrl + Alt + D 把选区羽化一下,数值不要太大。
4、用套索工具单独抠出人物部分,如下图。
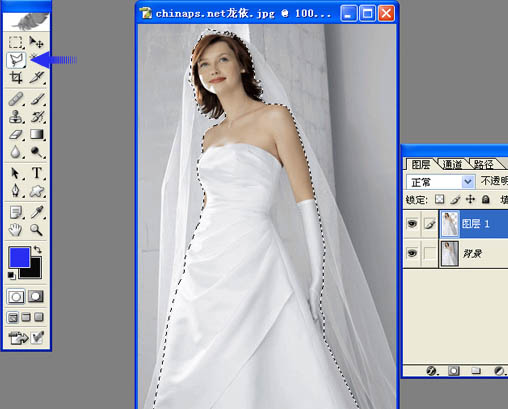
5、手部空隙处用选择属性面板上的“减去选区”,然后再扣出来。

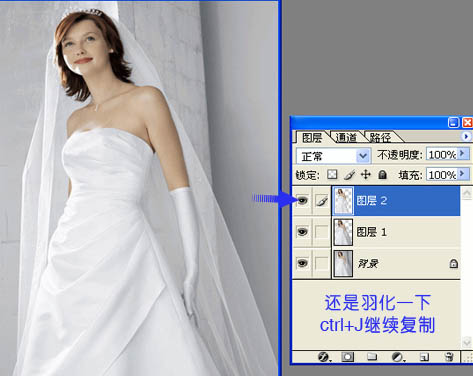
6、再适当羽化一下按Ctrl + J 复制到新的图层。
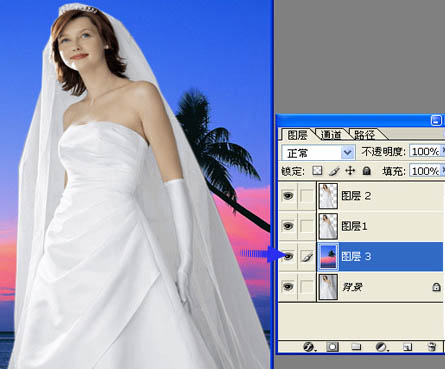
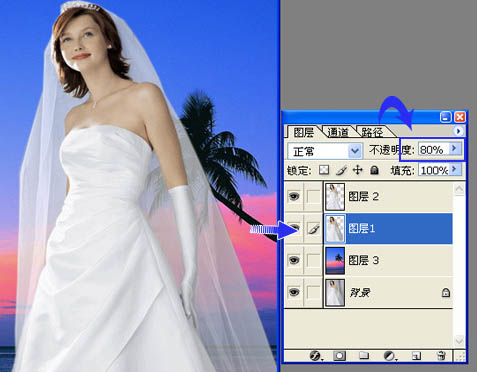
8、降低图层一的不透明度,多少随意。不过不要降的太多。你也可以试试混合模式,比如滤色,强光什么的,不过偶觉得在这个图片里效果没降透明度效果好。
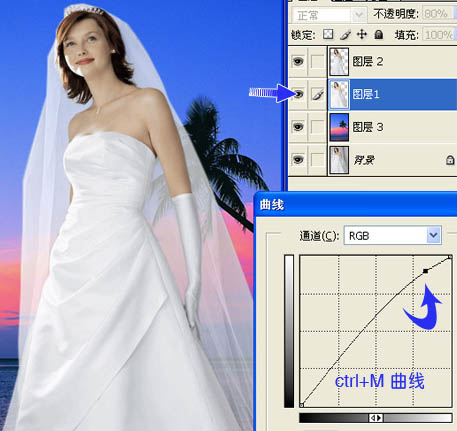
9、感觉婚纱有点不白。按Ctrl + M 曲线调之,不调也可以。
最终效果: